
Obstacle guide: all 18 obstacles
New obstacles keep appearing the further you run – from the simple crate at the start to the moving platform from about 1,300 m. Here you can find all 18 with sizes, how to recognise them and the best tactic.
-
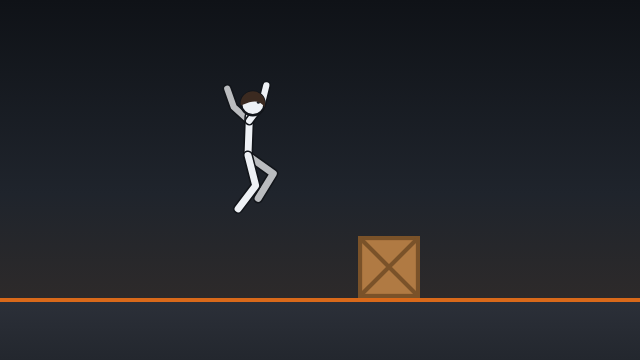 Crate
A short hop is enough.
-
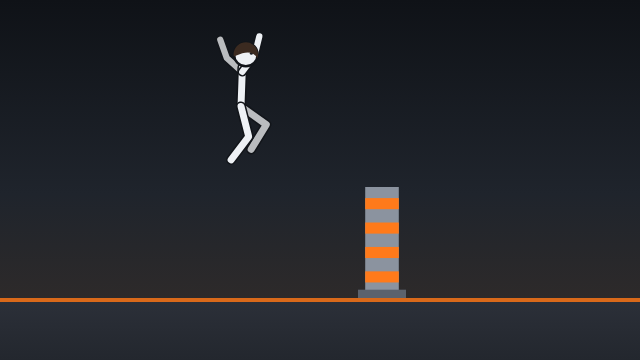 Post
Hold the jump button a little longer than for a crate.
-
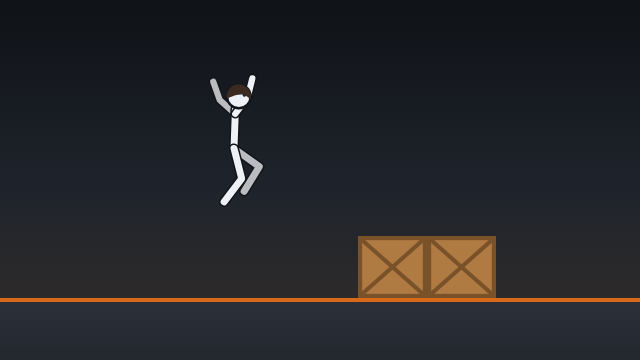 Double crate
Take off earlier than for a single crate and hold the button so you clear the full width.
-
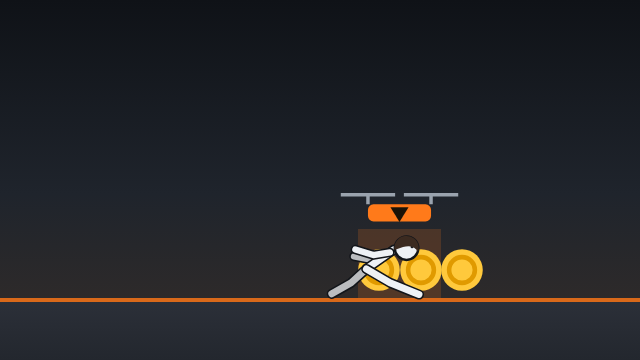 Low drone
Duck: while ducking your runner is only 0.85 m tall and slides right under the drone – coins included.
-
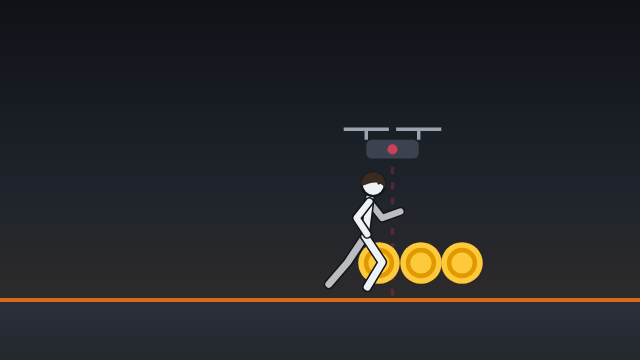 High drone
Just keep running and do not jump.
-
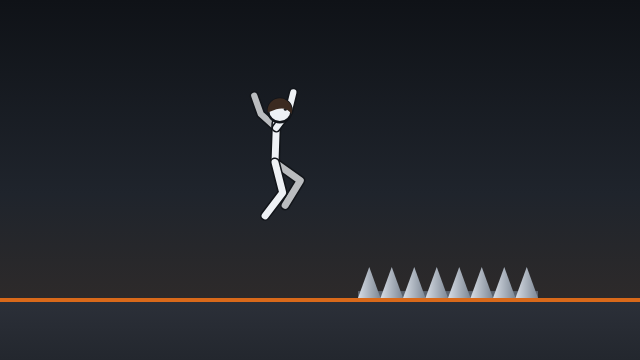 Spike row
Take off early and go far.
-
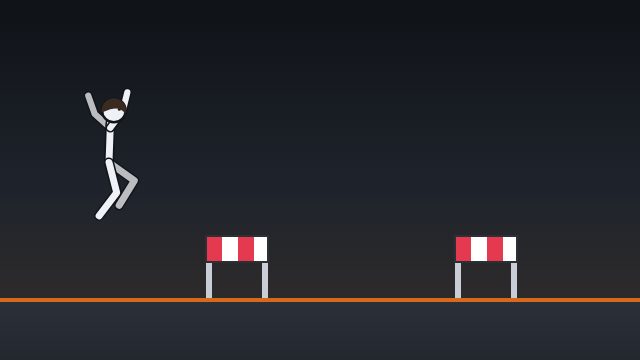 Hurdle row
Jump twice with short hops: over the first hurdle, land, take off again right away.
-
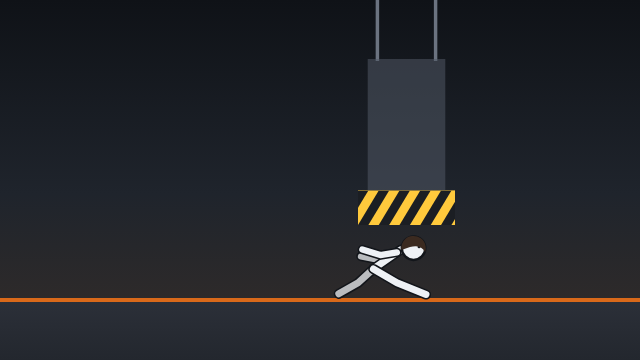 Beam
Duck.
-
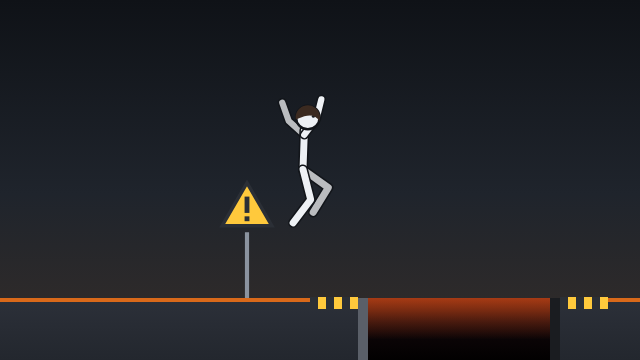 Pit
Take off in time, as soon as the warning sign passes you.
-
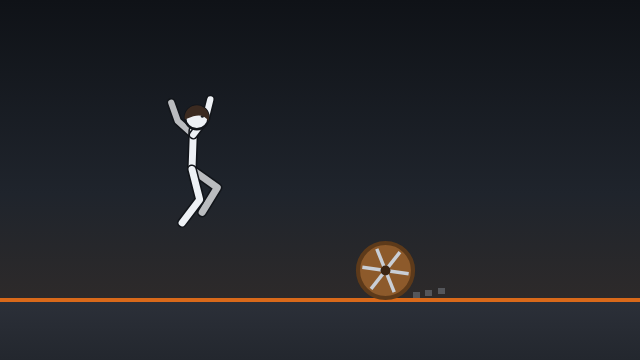 Rolling barrel
Take off a little earlier than for a crate.
-
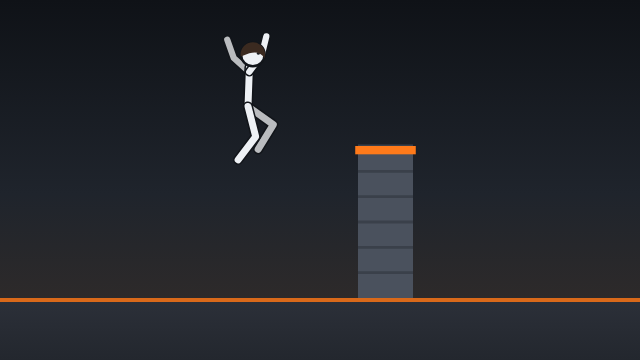 Wall
Full jump: press and hold.
-
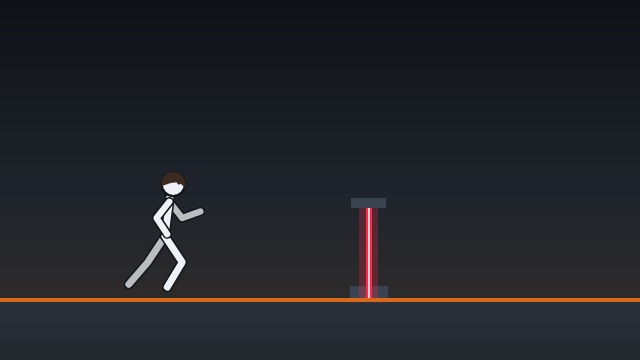 Laser gate
If the laser is off, just run through.
-
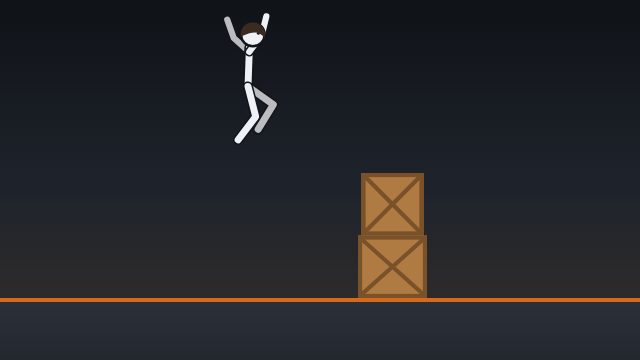 Crate stack
Hold the button: a full jump clears it safely.
-
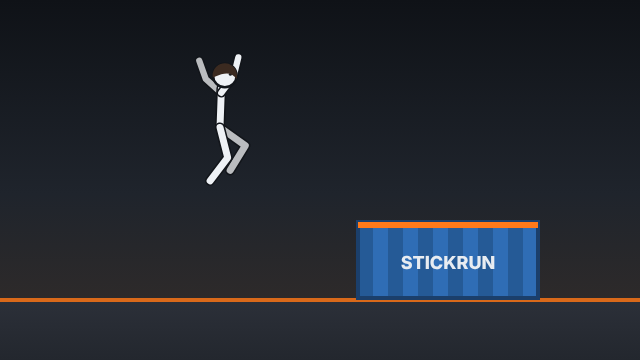 Container
A full jump with an early take-off.
-
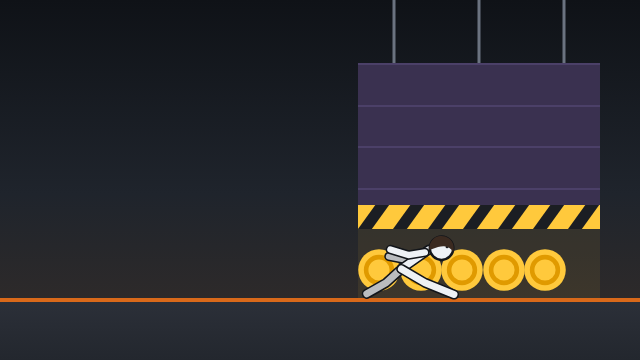 Tunnel
Slide through ducked the whole way.
-
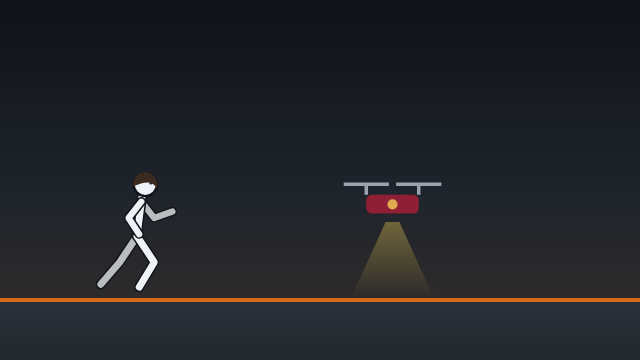 Patrol drone
Timing: when the drone is high, run underneath.
-
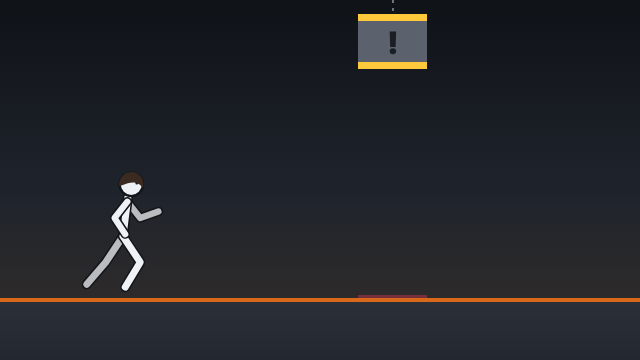 Falling block
Do not run under the block while it falls.
-
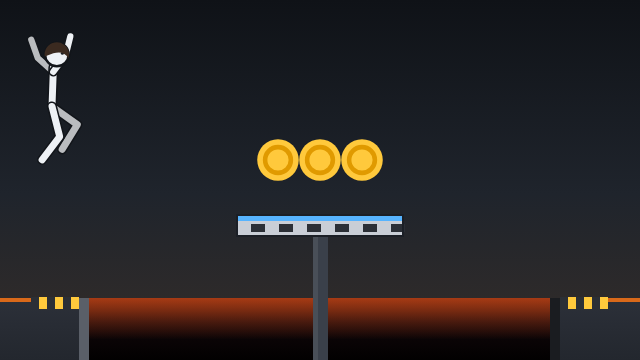 Moving platform
Jump onto the platform, land there and jump off it across the rest of the pit.
All obstacles at a glance
| Obstacle | First appears | Action |
|---|---|---|
| Crate | from the start | Jump |
| Post | from the start | Jump |
| Double crate | from the start | Jump |
| Low drone | from 150 m | Duck |
| High drone | from 250 m | Run under |
| Spike row | from 300 m | Jump |
| Hurdle row | from 350 m | Jump |
| Beam | from 400 m | Duck |
| Pit | from 450 m | Jump |
| Rolling barrel | from 500 m | Jump |
| Wall | from 600 m | Jump |
| Laser gate | from 650 m | Timing |
| Crate stack | from 750 m | Jump |
| Container | from 850 m | Jump |
| Tunnel | from 900 m | Duck |
| Patrol drone | from 1,000 m | Timing |
| Falling block | from 1,100 m | Timing |
| Moving platform | from 1,300 m | Jump |
How to read the guide
- From … m: the obstacle can appear from this distance onwards. After that it becomes a little more frequent over time.
- Action: jump, duck, run under or timing – the basic tactic at a glance.
- Sizes: in metres. For comparison: your character is 1.6 m tall, 0.85 m while ducking, and your highest single jump reaches just under 2.5 m.